Installing Lync Server 2010 consolidated standard edition server, step-by-step – Part 3
2011-03-21 4 Comments
Add User account to CSAdministrator group
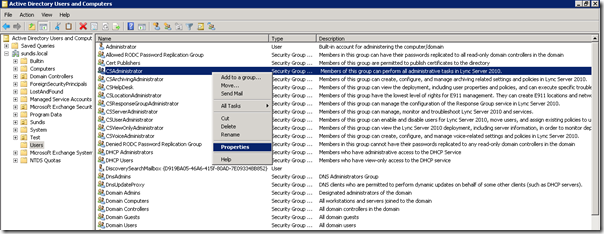
Now we need to configure administrative access for a user so we can access the Lync Server 2010 Control Panel. Head over to a suitable domain controller and open Active Directory Users and Computers. Navigate to the Users OU and find the group CSAdministrator. Right click the group and choose Properties.
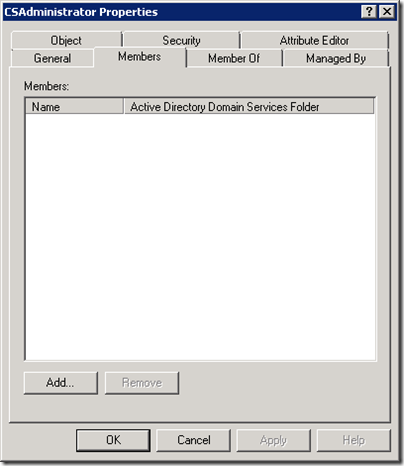
This opens the property page for the group CSAdministrator. Click on the Members tab and then click Add.
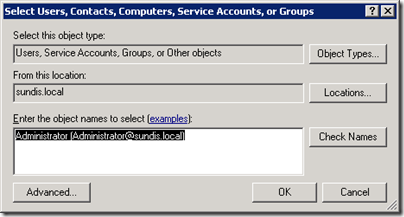
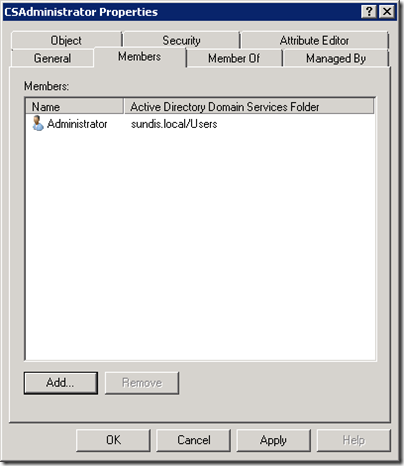
Enter the name of the account you want to add and then click Check Account. When the account is verified click Ok to add the account as a member of the group.
Click Ok to close the property page and the process is finished.
The Lync Server 2010 Control Panel
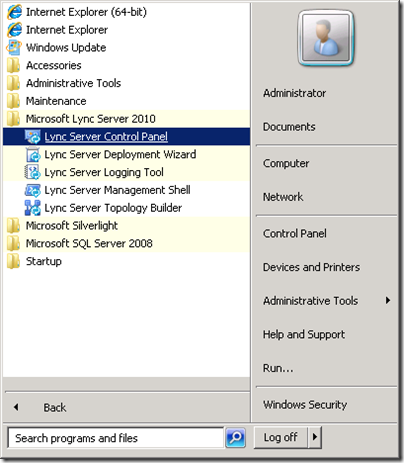
Now we can have our first look at the Lync Server 2010 Control Panel, locate the shortcut on the Start Menu and launch the utility.
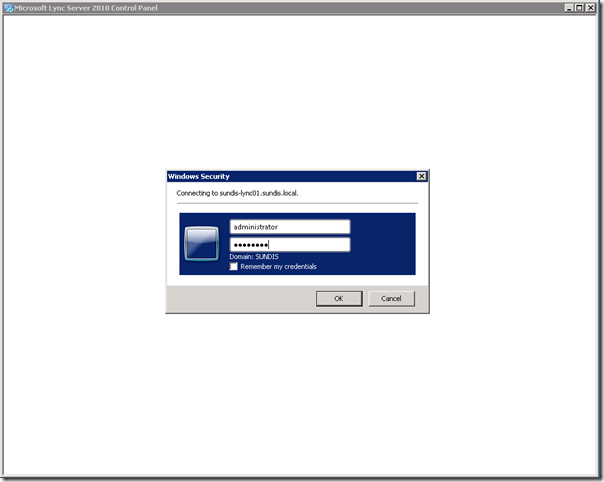
We have to authenticate using the account we added to the CSAdministrator group earlier.
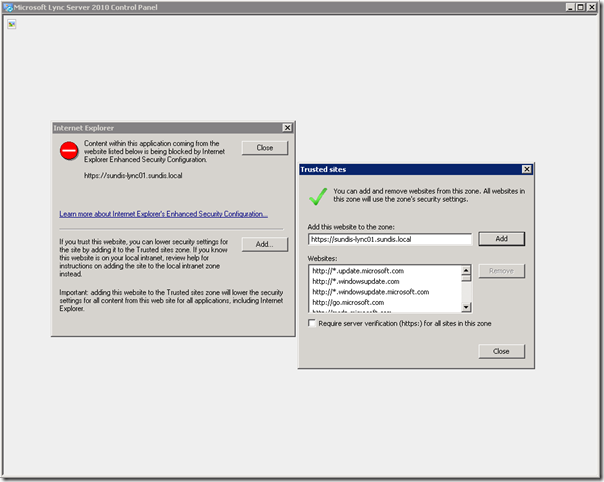
Add the site to trusted sites when you receive the security warning.
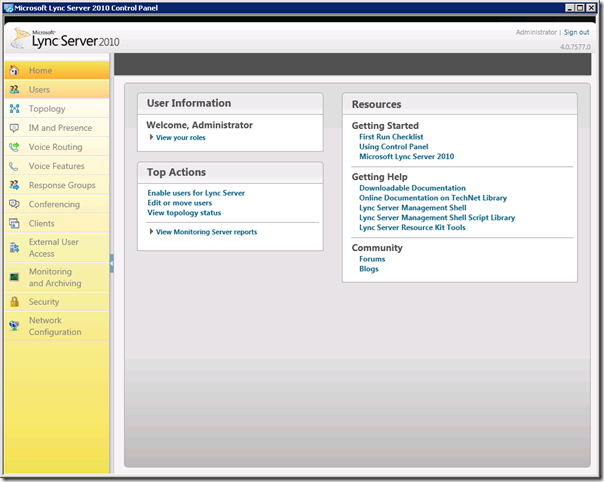
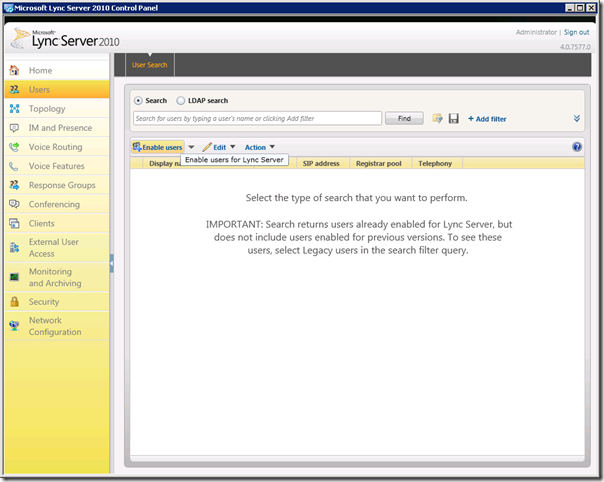
You will now be taken to the welcome page on the Lync Server 2010 Control Panel. This page contains links to common tasks and different help topics. We will take a moment to go through some of the tabs available and then you can look through all the tabs on your own to get a more deeper idea on how this tool is partitioned. Click on Users to open the users page.
Let us start with enabling the users for Lync Server 2010, click on Enable Users.
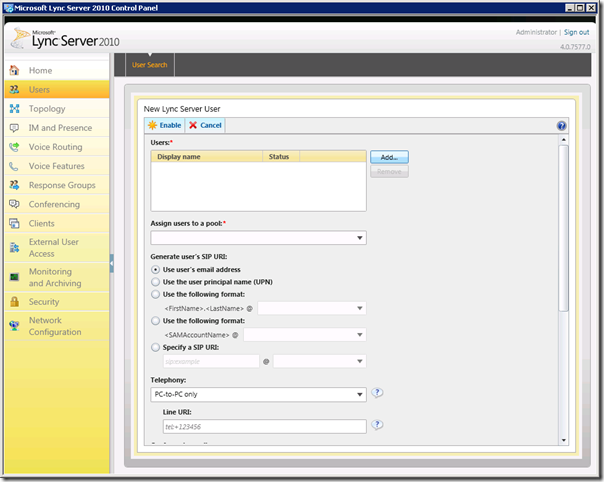
Click on Add to add a user.
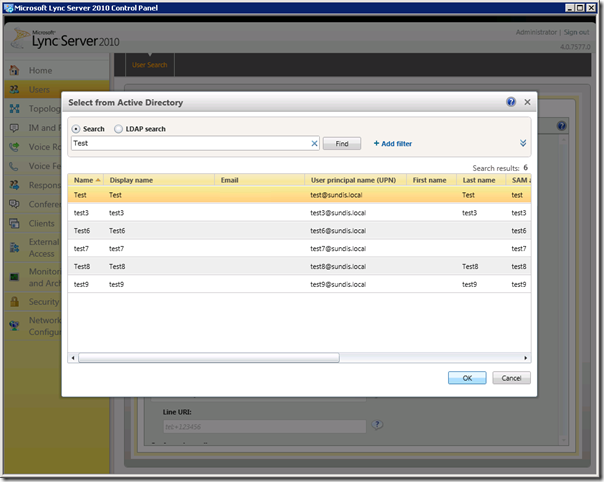
Enter a username and click Find, select the user you want to enable and then click Ok.
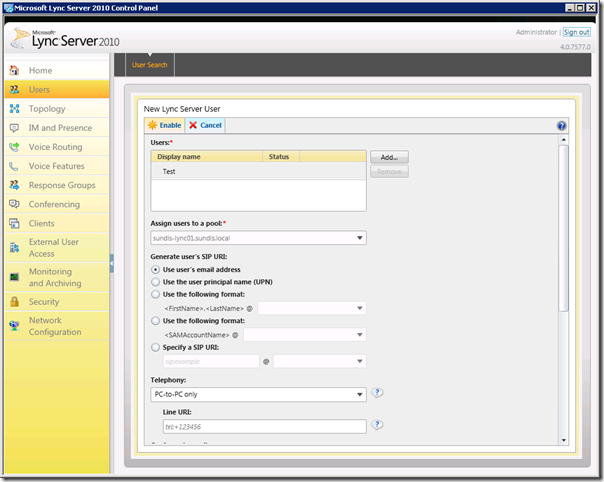
Assign the user to a pool by choosing the correct one in the Assign users to a pool drop down list. Then click Enable to finish the configuration.
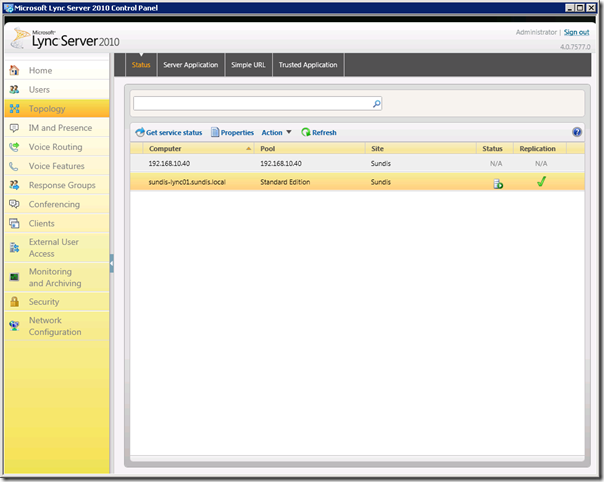
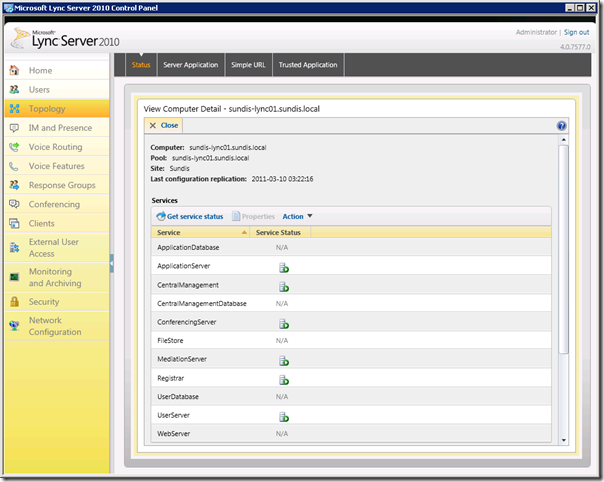
You have now successfully enabled a user for Lync Server 2010. To continue, click on Topology in the left pane and you will see a list of server included in this topology. For example, this tab is useful in order to get a quick look on how your servers are doing and if there are any events that you need to address. Double click on your server, in my case sundis-lync01.sundis.local to see a detailed list of the services running on this server.
This brings up Computer Details for the specific server. In my case all the services on my server is running fine. For example, you can choose to stat and stop services using the Actions menu, close this window by clicking Close.
I will not include any more tabs in this guide, I will save this for upcoming posts. I am working on a post on how to integrate Lync 2010 with Exchange 2010 UM and another one on how to use Lync 2010 and Asterisk to handle a consumer grade SIP trunk. I those post we will dive a bit deeper in the phone part of Lync 2010.
The Lync 2010 Client
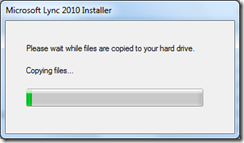
We have one last thing to do in this post and that is to test client connectivity and make sure that IM/Presence is working. let’s move on to installing the Lync 2010 client on a PC. The first window you will se flashing by after you execute the client installation file is a loading status.
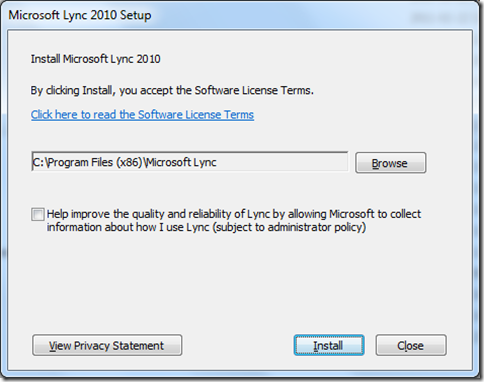
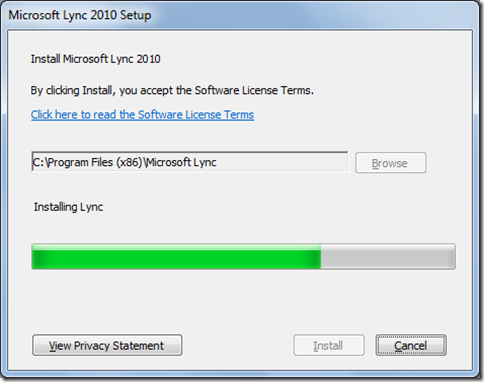
You will then be able to choose location for the installation, click on Install to continue.
A progress bar will show the process.
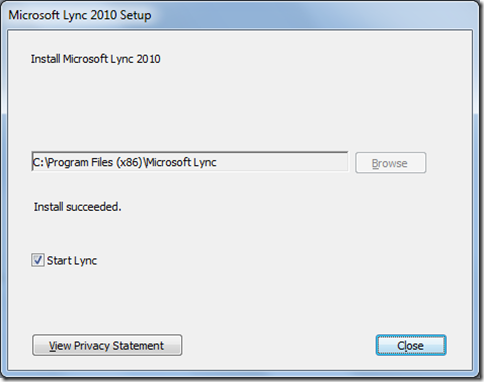
When the installation is finished, click on Close to complete the installation.
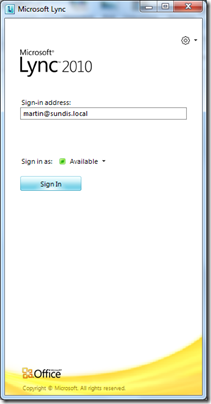
The Lync client will now launch automatically unless you unclicked Start Lync, and if all is well you should be able to log in.
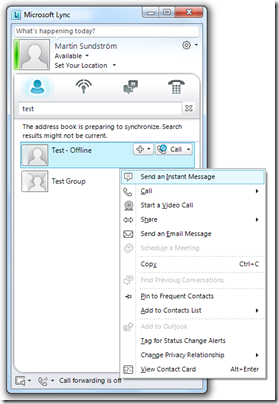
You will see the default tab in Lync, search for a another user, right click the user and select Send an Instant Message.
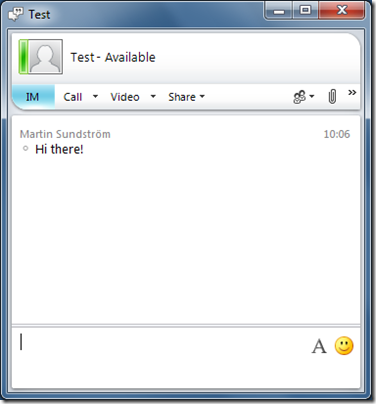
Enter the text you want to send an hit Enter. And we now have a working IM solution based on Lync 2010!
This ends part 3 in this series. There is a couple of more posts coming that I will finish in the near future, I am working on a couple of technical issues that I need to address before publishing the posts. Thanks for reading and please let me know if you find any errors or have any further questions.
