This is my first technical post about Lync Server 2010 and I will kick off my series of Lync Server 2010 posts with a basic installation and configuration post. I will guide you through the installation process and show you how to make a basic IM/presence and video conferencing configuration. I am also working on a post on how to integrate Lync Server 2010 with Asterisk to be able to use a consumer grade SIP trunk for phone support.
Pre-requirements
I will base this server one Windows 2008 R2 Standard and it is placed on a Hyper-V 2008 R2 host. First we need to start with installing the pre-requirements. Please make sure that you have installed all available updates from Microsoft Update before you continue. To start the requirements installation we can use PowerShell.
To import the Server manager module run the following command:
Import-Module ServerManager

Now we can start the actual installation of all required components with the following command:
Add-WindowsFeature NET-Framework,RSAT-ADDS,Web-Server,Web-Static-Content,Web-Default-Doc,Web-Http-Errors,Web-Http-Redirect,Web-Asp-Net,Web-Net-Ext,Web-ISAPI-Ext,Web-ISAPI-Filter,Web-Http-Logging,Web-Log-Libraries,Web-Http-Tracing,Web-Windows-Auth,Web-Client-Auth,Web-Filtering,Web-Stat-Compression,Web-Mgmt-Console,Web-Scripting-Tools -Restart
After the installation the server will restart automatically since we added the –Restart parameter.

Also, install Microsoft Silverlight, this is needed to run the Lync Server 2010 installation GUI. Silverlight can be found here: http://www.microsoft.com/getsilverlight/Get-Started/Install/Default.aspx
The installation of Silverlight is very straight forward, after the download run Silverlight.exe and click on Install now. The installation process will start and when finished click Next and then Close.
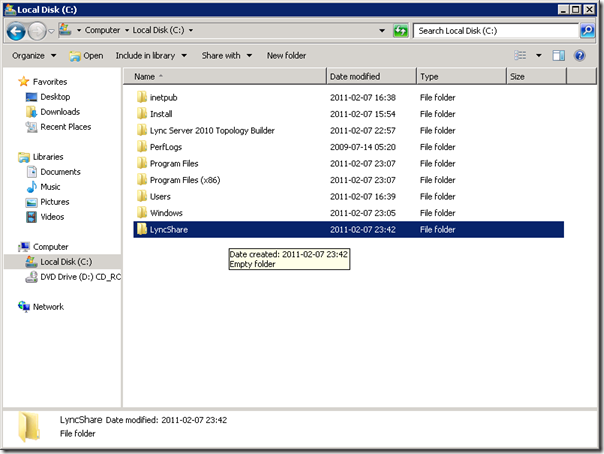
We also need to create a file share on the Lync server 2010 server. I will place my directly under C: and name it LyncShare.
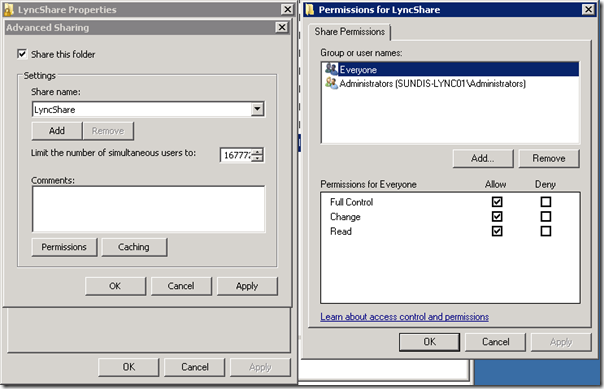
Share the folder and make sure that everyone has full control.
We will also be needing a number of DNS entries. Add the following records to your domain controllers DNS servers.
| Name |
Target |
| meet.sundis.local |
<Lync 2010 Server IP> |
| admin.sundis.local |
<Lync 2010 Server IP> |
| dialin.sundis.local |
<Lync 2010 Server IP> |
Now we are ready for the fun stuff!
Installing Lync Server 2010
Insert your Lync Server 2010, if AutoPlay does not start, navigate to your drive \Setup\amd64 and execute setup.exe. The first thing you will need to do is to install Microsoft Visual C++ 2008 Redistributable Package, click Yes to proceed.
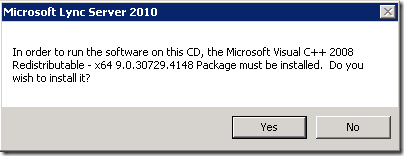
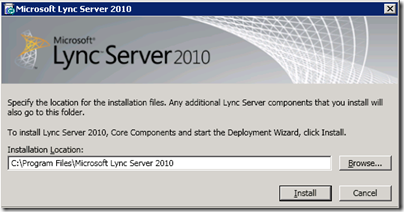
When Microsoft Visual C++ 2008 Redistributable Package is installed you will need to choose the installation directory. The default location will be just fine for me, change the location to match your preferences and then click Install.
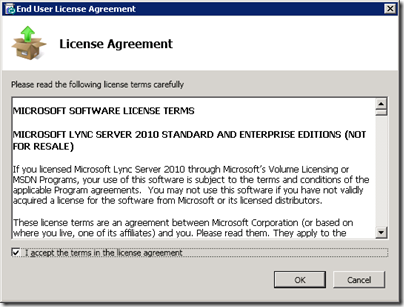
Next you need to accept the license agreement, check I accept the terms in the license agreement and then click Ok.
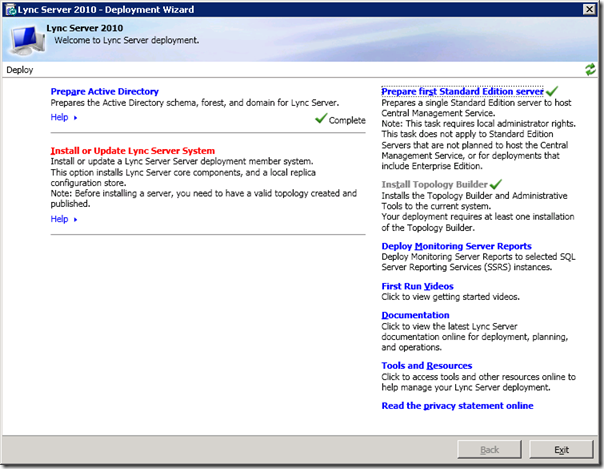
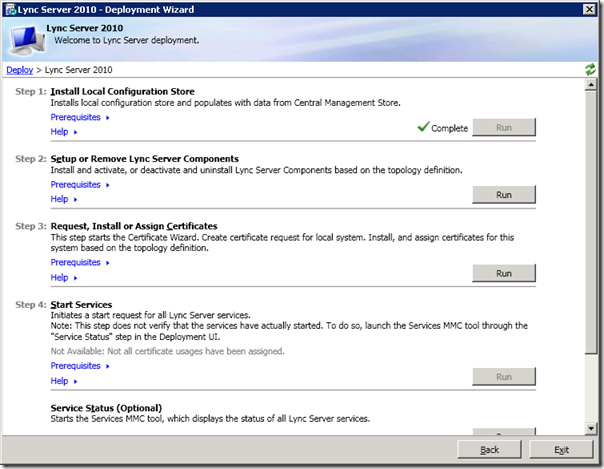
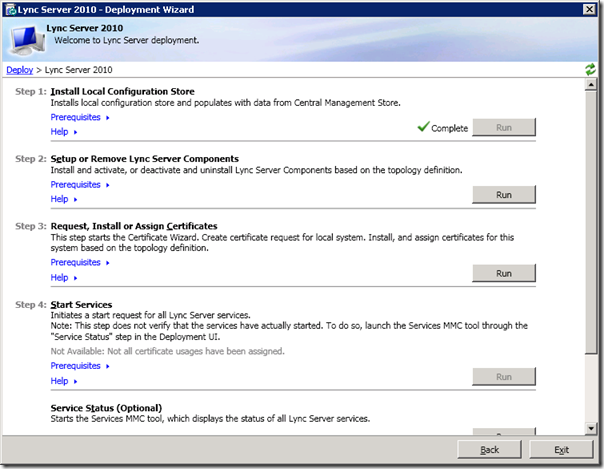
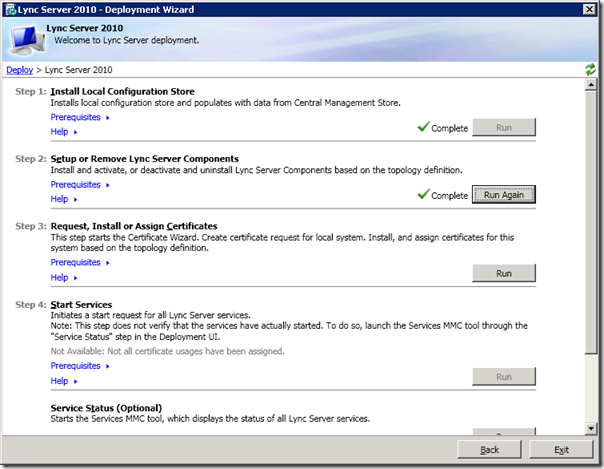
Now the Deployment Wizard launches and you will have a number of choices. We will start with Prepare Active Directory.
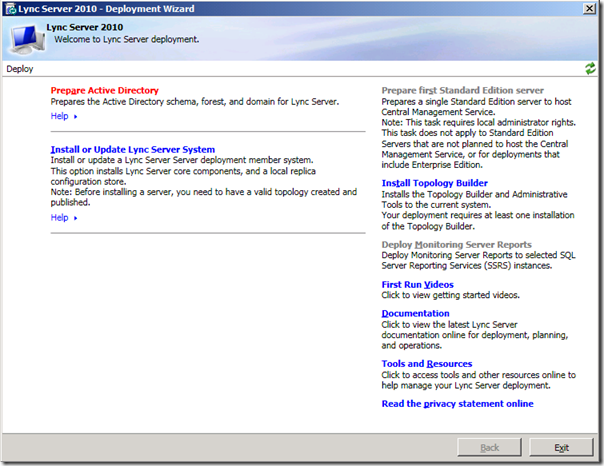
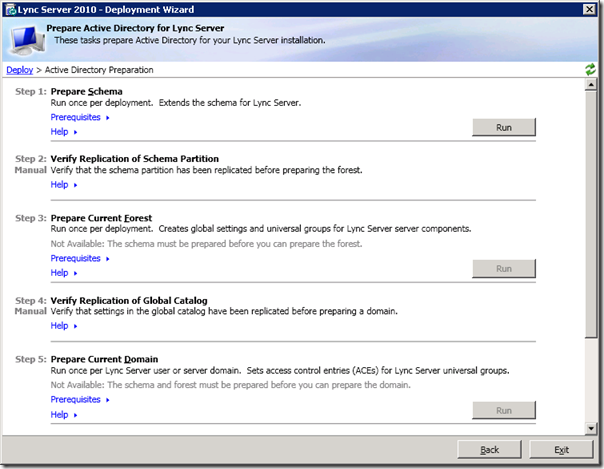
We will now have number of steps to complete, go through each of them starting from the top with Prepare Schema, click Run to start the wizard.
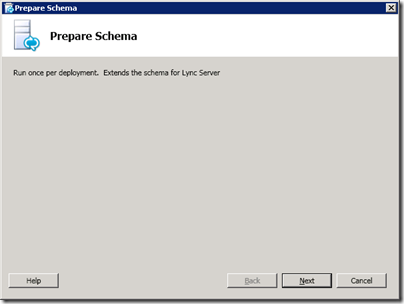
When the wizard starts click Next to continue.
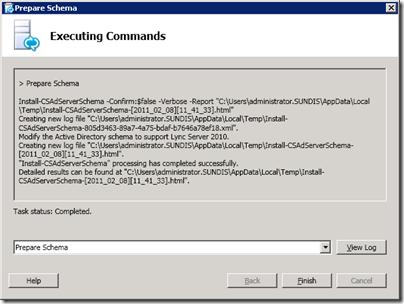
The schema preparation is automatic, click Finish when the Task Status says Completed.
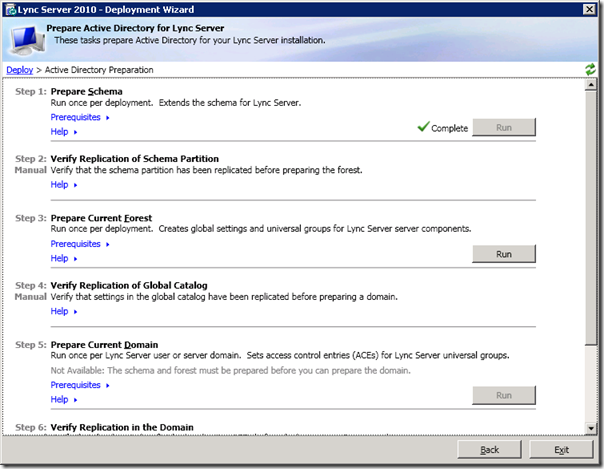
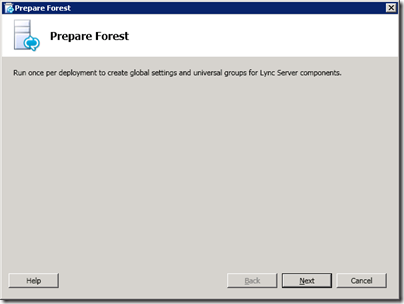
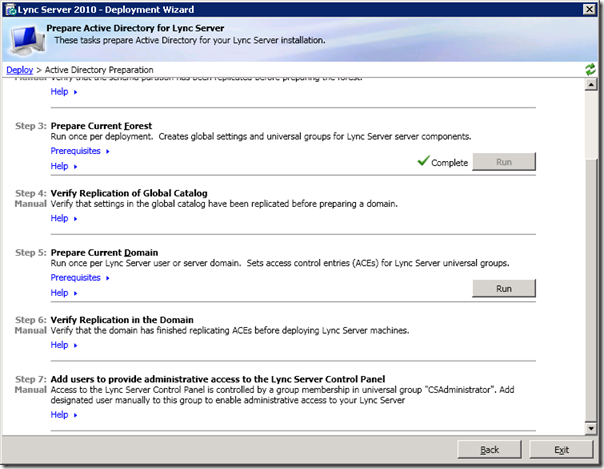
The next step is to Prepare Current Forest, click Run to start the wizard.
When the wizard starts click Next to continue.
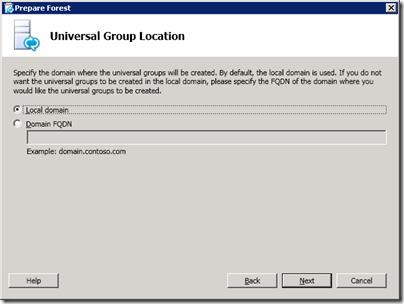
We will configure the local domain, click Next to continue with defaults.
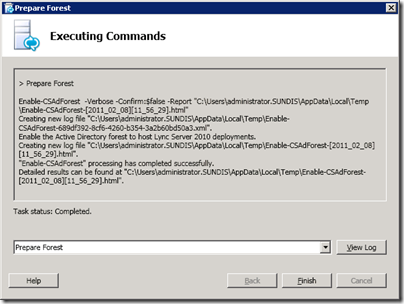
The forest preparation is also automatic, click Finish when the Task Status says Completed.
The last preparation wizard we need to run is Prepare Current Domain, click on Run to start the wizard.
When the wizard starts click Next to continue.
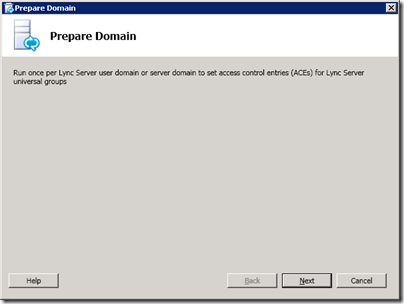
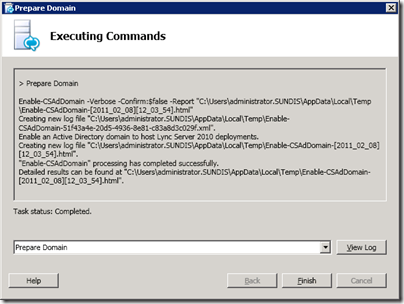
Again, the preparation is automatic, click Finish when the Task Status says Completed.
The last step is to grant access to the Microsoft Lync Server 2010 Control Panel, do the following:
- Log on as a member of the Domain Admins group or the RTCUniversalServerAdmins group.
- Open Active Directory Users and Computers, expand your domain, right-click the Users container, and then click Properties.
- In CSAdministrator Properties, click the Members tab.
- On the Members tab, click Add. In Select Users, Contacts, Computers, Service Accounts, or Groups dialog, locate the Enter the object names to select. Type the user name(s) or group name(s) to add to the group CSAdministrators. Click OK.
- On the Members tab, confirm that the users or groups that you selected are present. Click OK.
After completing all the steps, click on Back to return to the Deployment Wizard.
Moving on, The Topology Builder is next and with this tool we create a topology that we use to deploy the actual Lync Server 2010 system. To start the installation click on Install Topology Builder.
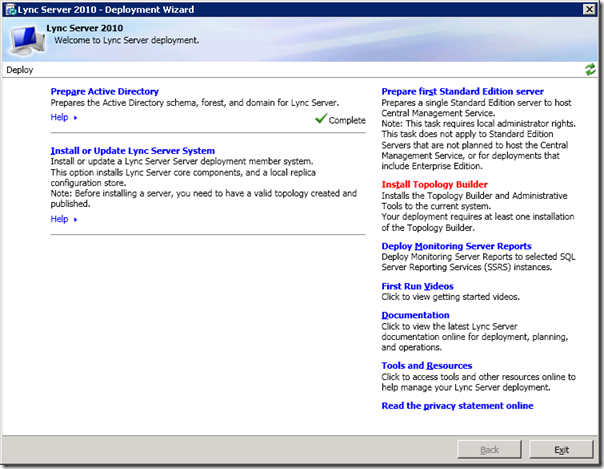
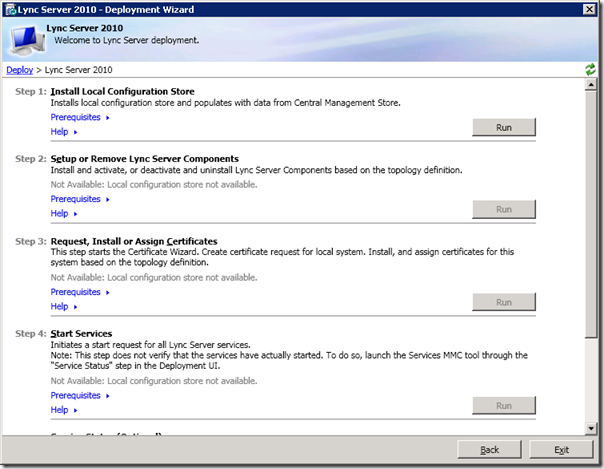
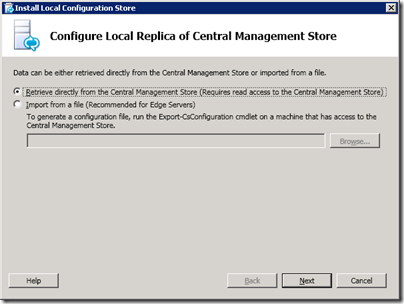
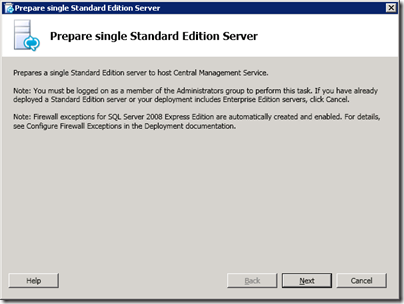
The installation will now run and it is automatic, when it is finished we will move on to Preparing the first Standard Edition server.
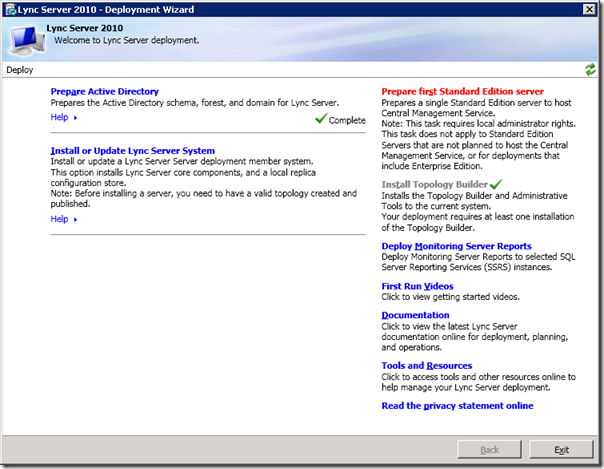
On the introduction screen click Next to continue.
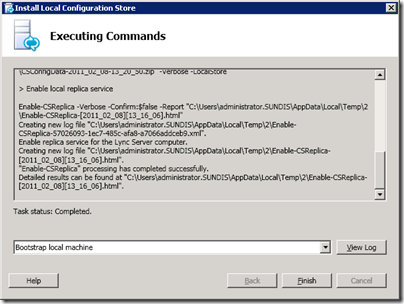
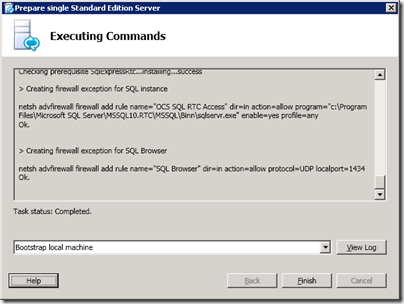
The installation will begin and when completed click Finished to close the wizard.
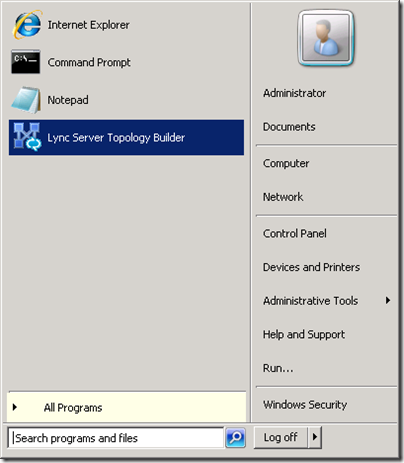
Now it is time to start with some configuration, locate the Lync Server Topology Builder on the Start Menu.
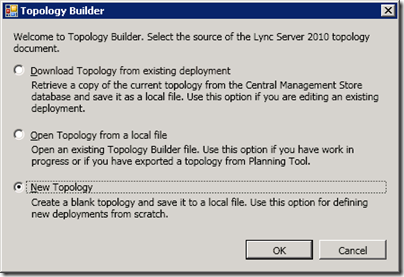
The first thing we need to do is to select if we have a topology we want to open or if we want to create a new one. Choose New Topology and click Ok.
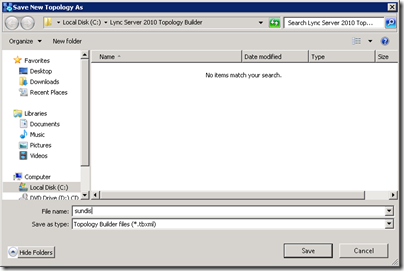
Choose where to save your topology files, I will save my files in C:\Lync Server 2010 Topology Builder and call it sundis.tbxml. When you are finished choosing name ad location click Save.
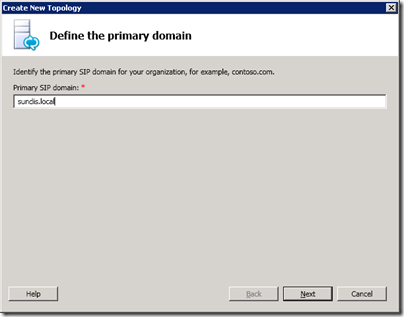
Then enter a SIP domain that matches your preferences, I will enter sundis.local. This is the internal domain name in my family domain and will work well for the purpose of this installation, click Next to continue.
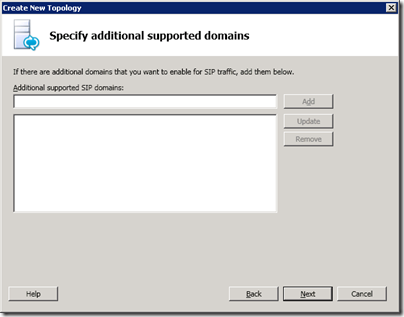
We will not add any additional SIP domains at this point, click Next to continue.
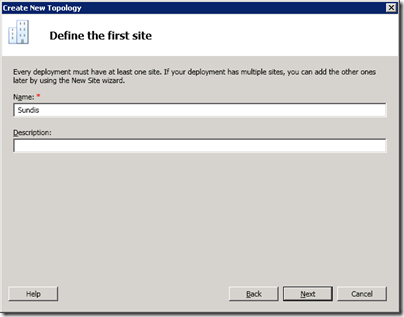
Enter a name for you default site, I will enter Sundis, then click Next to continue.
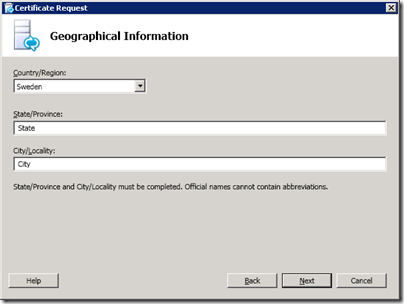
Enter your City, State and country and click Next to continue.
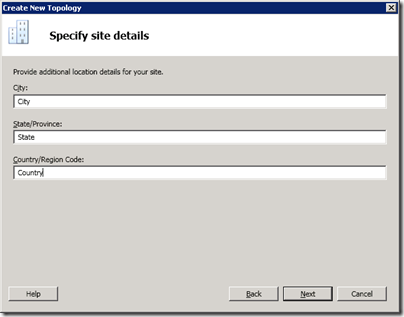
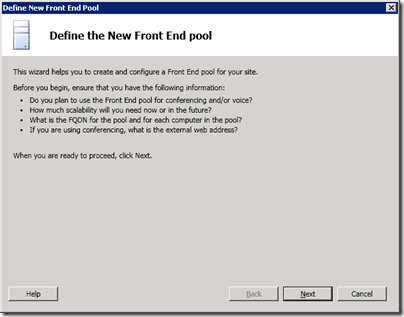
We want to continue to configure a front end pool so click Finish. When the New Front End Pool wizard starts click Next to continue.
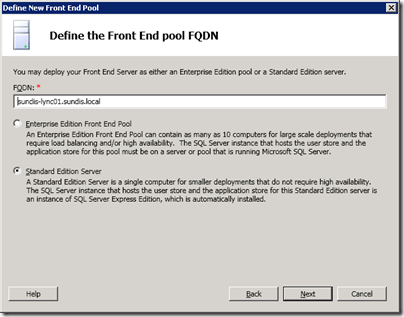
Now we must define a FQDN for our Front End Pool. Wine this is a simple single server installation I will use the servers FQDN sundis-lync01.sundis.local. Chose Standard Edition Server and click Next to continue.
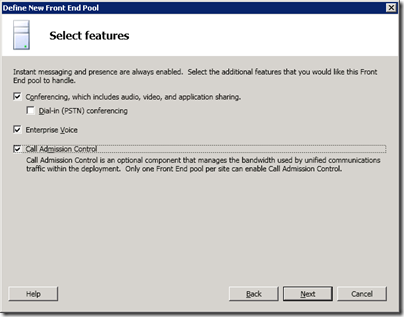
We will chose the following components for this installation:
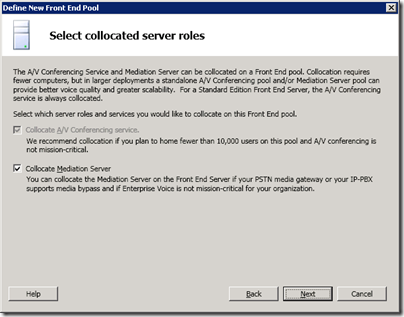
We will collocate the mediation server, check Collocate Mediation Server and then click Next.
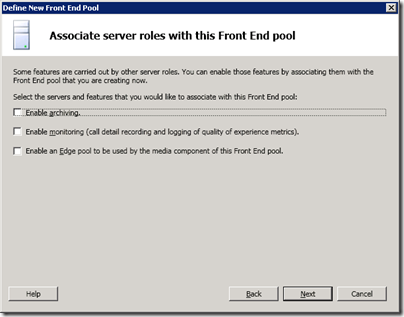
We will not enable any more components, click Next to continue.
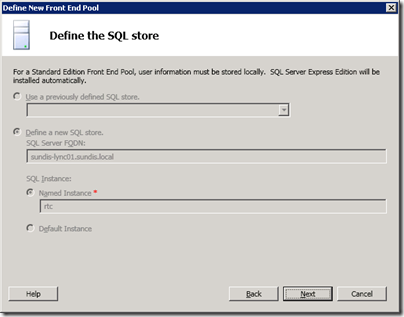
We have already installed SQL server on the Lync Server 2010 server and the wizard finds it automatically. Click on Next to continue.
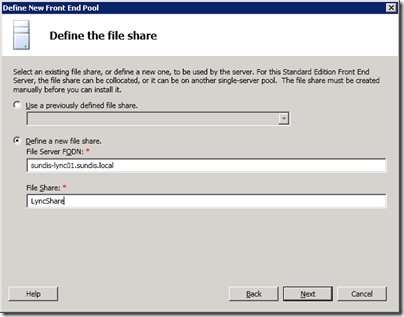
Now we will enter the share name we used when creating the file share earlier. I named the share LyncShare, enter your share name and click Next to continue.
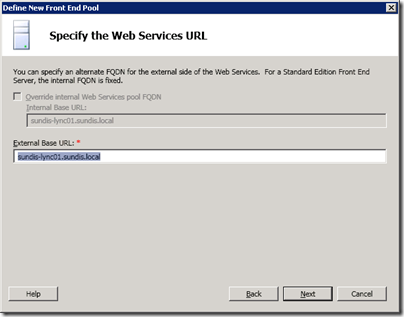
We will not enter a public FQDN at the moment and will leave it as default, click Next when finished.
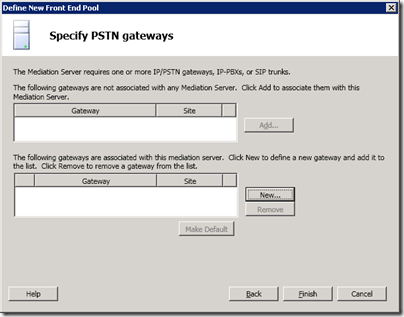
We will not add a gateway at this moment, click on Finish to end the wizard.
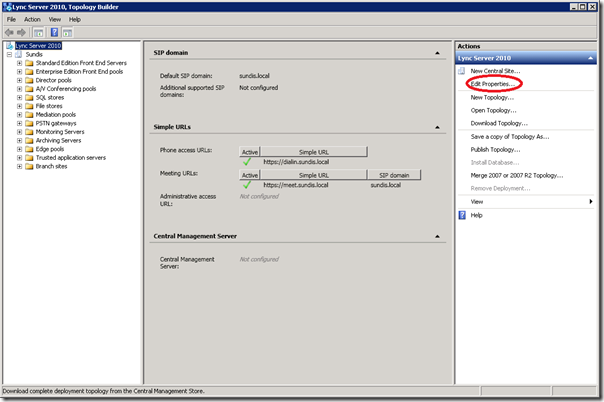
When the wizard closes you will be presented with the Topology builder, Take a moment to go through the configuration, then go back to the original screen an click on Edit Topology.
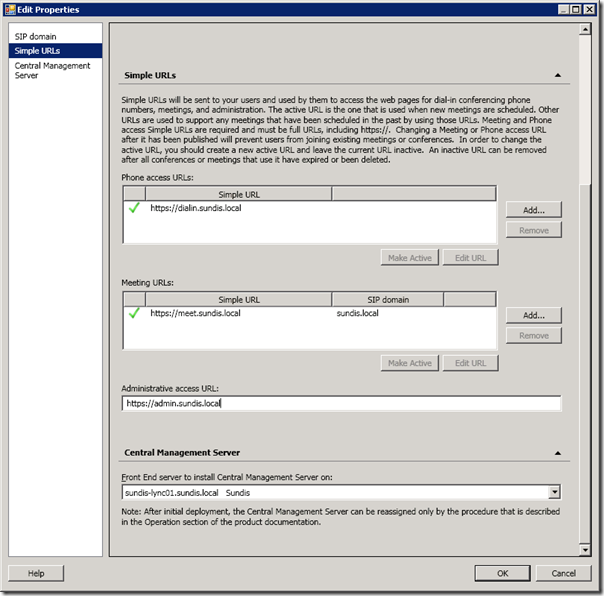
In the left pane, select Simple URLs, in the main pane, enter a URL in the field Administrative access URL. In my case this is https://admin.sundis.local, then choose the Front end server to install Central Management Server on. If all is well you should only have one choice here, click Ok when done.
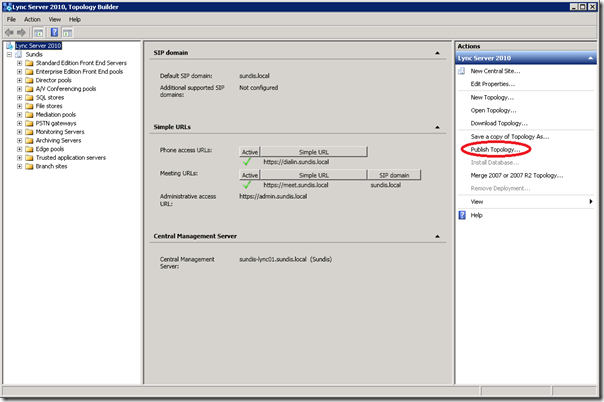
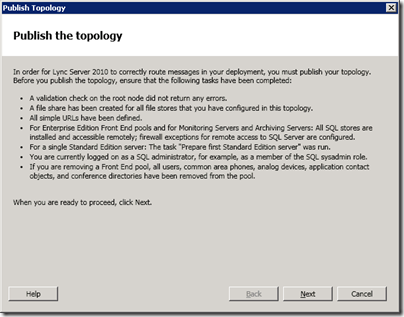
Now it is time to publish our topology to the management server. Back in the topology builder, click on Publish Topology in the Actions Pane.
When the wizard has loaded, click on Next to start the publishing.
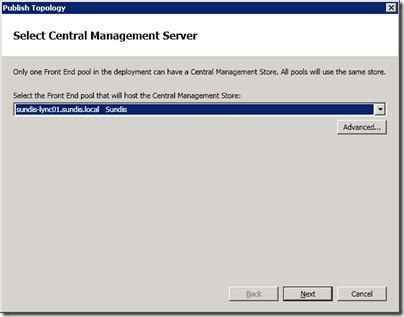
You should only have one Central Management Server, make sure it is selected in the drop-down list and then click Next.
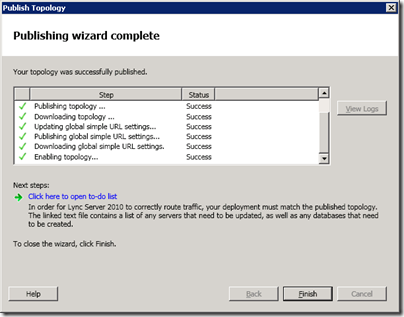
When the wizard completes, make sure that all steps are successful an then click Finish.
This concludes part 1 in this series on Lync Server 2010. Thanks for reading, I hope that you find it helpful!
Part 1 in this series!
Part 2 in this series!
Part 3 in this series!
